Every week we send out an email to existing clients with helpful tips and tricks for using Details Flowers Software. The Support Team looks at trending questions each month and works to identify ways we can help to spread knowledge to everyone using the platform. Make sure you're subscribed to the Education & Support messages from Details to get these helpful emails!
Here's a recap of what we covered in November in the Tips & Tricks series!
Themed Collections
|
The Collections tool in Details is a powerful organizational tool, and it's a great way to plan ahead and quickly access grouped items. With the holidays upon us, this week we're going to look at how you might make a themed collection in your Item Gallery!
👉 If you're not too familiar with Collections, check out this video: Designing with Collections
|
|
Creating a Themed Collection
Here in the United States, Thanksgiving is at the end of November on November 25th so we're going to walk through creating a Thanksgiving-themed collection!
Get started in the Gallery home and follow these steps to create a new Collection:
- Click the 'Add New' button in the top-right
- Select 'New Collection'
- Give your Collection a name and a cover color or image (descriptions are optional!)
- Click 'Add Collection' to complete!
|
.gif?upscale=true&upscale=true&width=560&name=ezgif.com-gif-maker%20(25).gif) |
|
Now, it's time to gather together the items needed for our Thanksgiving Collection! Use the search panel to locate specific items, or browse the gallery. Once you locate an item you'd like to include in your Collection, follow these steps to move it over:
- Click the 'Options' button in the bottom-center of the screen
- Select 'Selection Mode'
- Click the desired item(s) to highlight them to be copied
- Click the 'Copy' or 'Cut' (whichever is applicable) button at the bottom to move the item to the clipboard
- Navigate to your themed collection and click 'Paste' to drop the item into the collection!
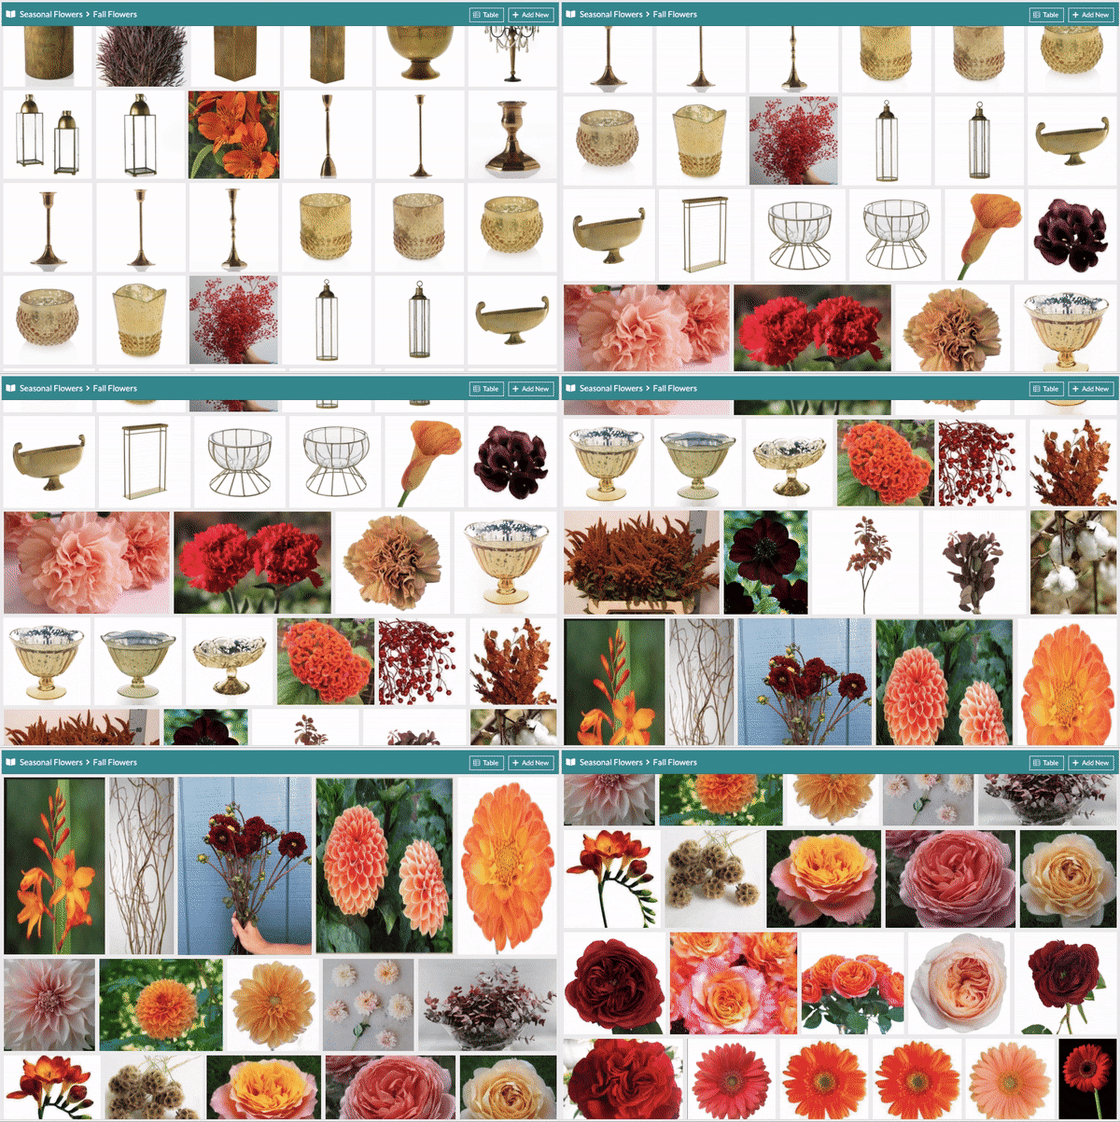
Repeat these steps until you have all the items in your themed collection, like so 👇
|
 |
|
Collections & the Design Board
Need to use these items in an event now? Add an entire collection of items to your Design Board at once! It's easy, just follow these steps:
- From the Gallery Home, click the 'Options' button at the bottom-center.
- From the Options, pick 'Selection Mode'.
- Select the Collection you want to use.
- Click 'More' at the bottom-center.
- From the available options, click 'Add to Favorites'
|
Managing Proposal Access and History
With Details, you have complete control over how and when your proposals are available to clients. Within the proposal page are a few options to manage that control, let's take a look!
Proposal Access
Head over the the 'Proposal' tab of any event and you'll see the 'Proposal Access' area in the top-right of the page. If you haven't published a version of the proposal yet, it will be blank, but after you publish the proposal you'll see the following options:
- Expiration Date: Want to limit the amount of time a client has to view the proposal and decide whether to accept? Set an expiration date and save!
You can always come back and remove or extend the expiration date if needed.
|
- Proposal Link: This is where you'll access the link to the proposal. Copy this link by clicking in the field or by clicking the 'Copy' button and send it to your client when the proposal is ready to go! No need to copy and send this each time you publish a new version of the proposal, it will automatically be updated with your new content!
|
- View: Take a look at what the client-view of the proposal is!
- Create New Link: Want to create a new link for the proposal? Click right here!
- Revoke Access: The kill switch; the big red button. Use this to shut down proposal access immediately - don't worry, it's not permanent, you can return access if you need to!
|
Items Needed
With Details, you have complete control over how and when your proposals are available to clients. Within the proposal page are a few options to manage that control, let's take a look!
Under the Reports section of the Main Menu you will find the 'Items Needed' report. From this page, select your desired time range and the events you want to include!
|
|
Once you create your report, you can see the following information:
- The item names
- The Event Date
- The client name
- The quantity per event
- The total quantity needed
- The number of bunches needed
- The estimated cost per stem
- How many you have in your inventory
- How many you need to purchase (if the item is a 'Vase/Rental')
- Item Type
- Event Name
You can choose to show all of these columns or select only the ones you would like from the 'Options' menu. Check out the link below for the full Support Center article!
|
Tips for Appreciating the Holidays!
- Keep Your Routine: It can be tempting to set your healthy habits aside for the holiday season, but you'll enjoy the season more if you're at 100%!
- Plan Ahead: We've been saying this a lot lately in regards to your floral businesses, but it's a good practice for your personal celebrations too. Make plans so you can always be present and not find yourself overwhelmed by the unexpected!
- Stay Connected: This year, more than ever, it may be difficult to see family members or find ways to be together. But staying connected isn't always about being together in the same room - find ways to connect with your loved ones and make them feel connected to you. Maybe some nice flowers would do the trick?
- Recharge: Make time for yourself! Yes, this is a great time to spend with family, but it's important to take care of you too!
- Think Moderation: This is a common theme that comes up during the Holidays, usually in relation to food and drink, but we think it's a general tip for everything. Of course, we should all take it easy on the sweets and cocktails, but apply this mantra to the other stuff too: don't spread yourself too thin trying to make everyone happy or by being everywhere at once!
Keep an eye on your inbox each week to get in-depth educational content for all things Details and, as always, reach out to our Support Team if you need anything! You can reach us by emailing support@detailsflowers.com, from the chat option within your account, or by using the 'Contact Us' form also found within your account under the 'Support' menu!

.gif?upscale=true&upscale=true&width=560&name=ezgif.com-gif-maker%20(25).gif)

-1.gif?upscale=true&upscale=true&width=500&name=ezgif.com-gif-maker%20(13)-1.gif)
-1.gif?upscale=true&upscale=true&width=400&name=ezgif.com-gif-maker%20(12)-1.gif)
-1.gif?upscale=true&upscale=true&width=560&name=ezgif.com-gif-maker%20(22)-1.gif)